Guides 5 min read
Embroidery on a Regular Sewing Machine: What's Possible
Free-motion embroidery works on a regular sewing machine with a darning foot and dropped feed dogs. Computerized designs need a dedicated embroidery machine.
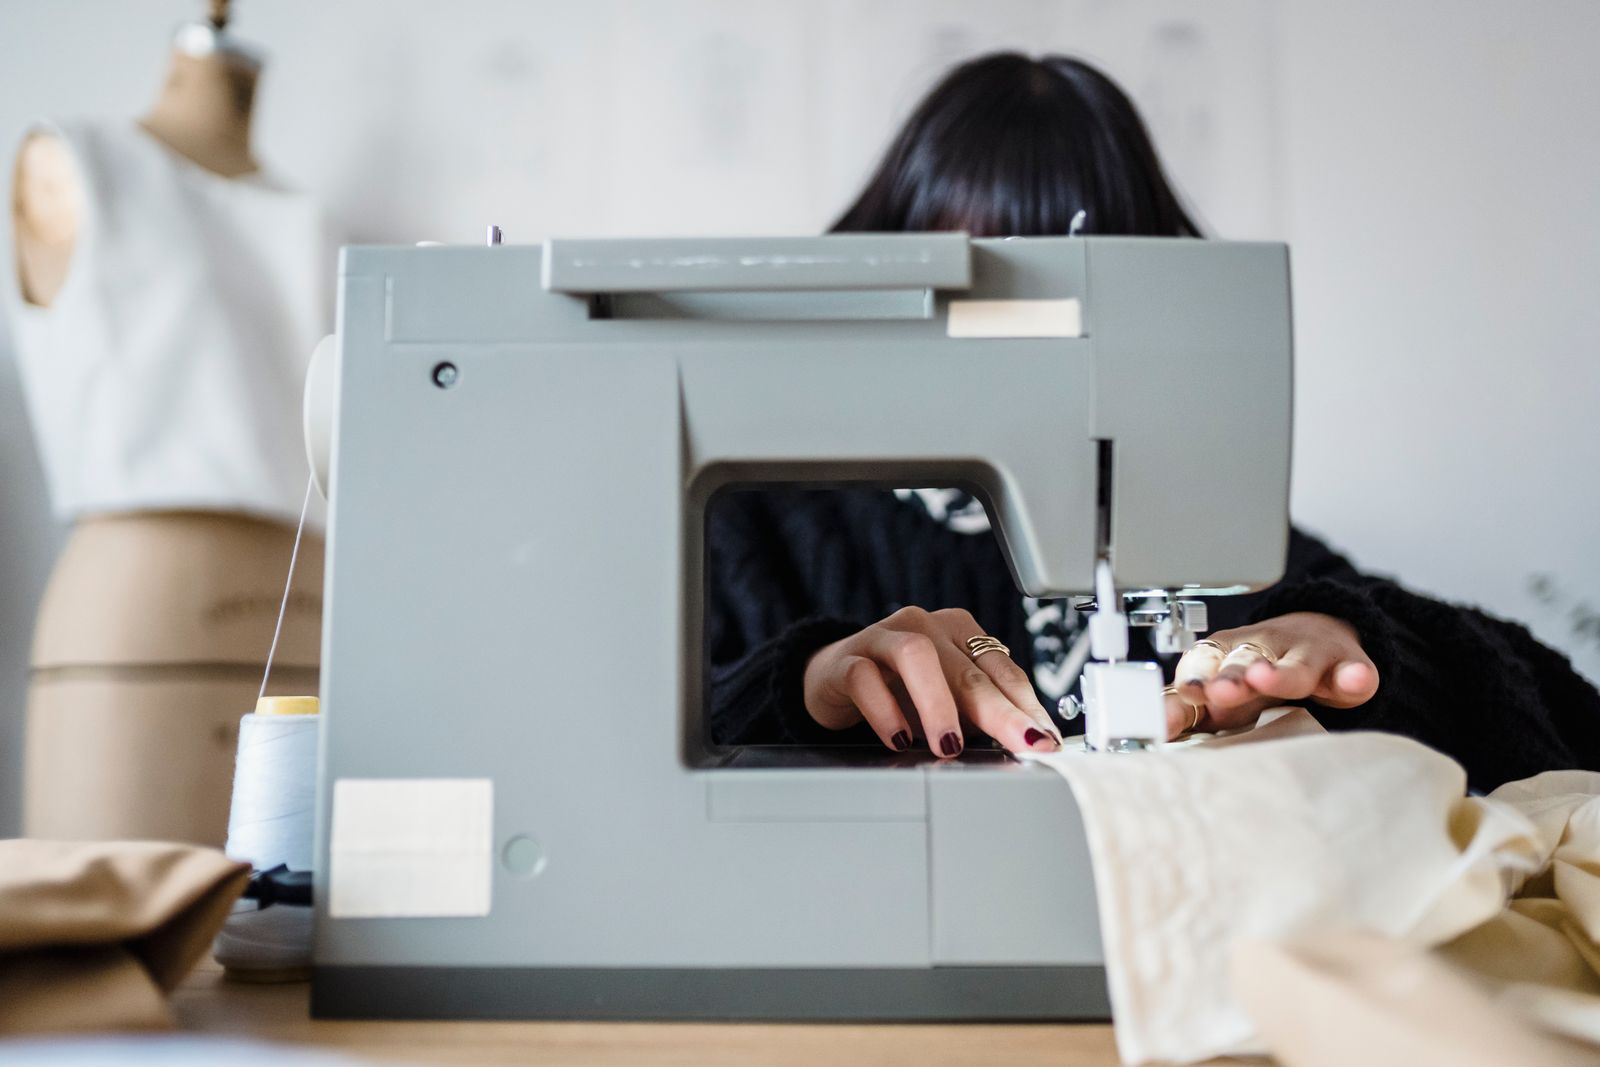
Yes, you can embroider on a regular sewing machine, but the result is different from what a dedicated embroidery machine produces. The technique is called free-motion embroidery: drop the feed dogs, attach a darning foot, and guide the fabric in any direction while the machine stitches. It works on any standard home sewing machine.
What you cannot do on a regular machine is load a digital design file and have the machine stitch it automatically. That requires a dedicated embroidery machine or a combo machine.
What free-motion embroidery actually means
A standard sewing machine moves fabric in one direction: forward, with occasional reverse. That’s because the feed dogs (the ribbed teeth beneath the needle plate) grip the fabric and advance it at a set rate. You can sew straight lines, curves, and zigzags, but the feed dogs control the movement.
Free-motion embroidery removes that control from the machine and hands it to you:
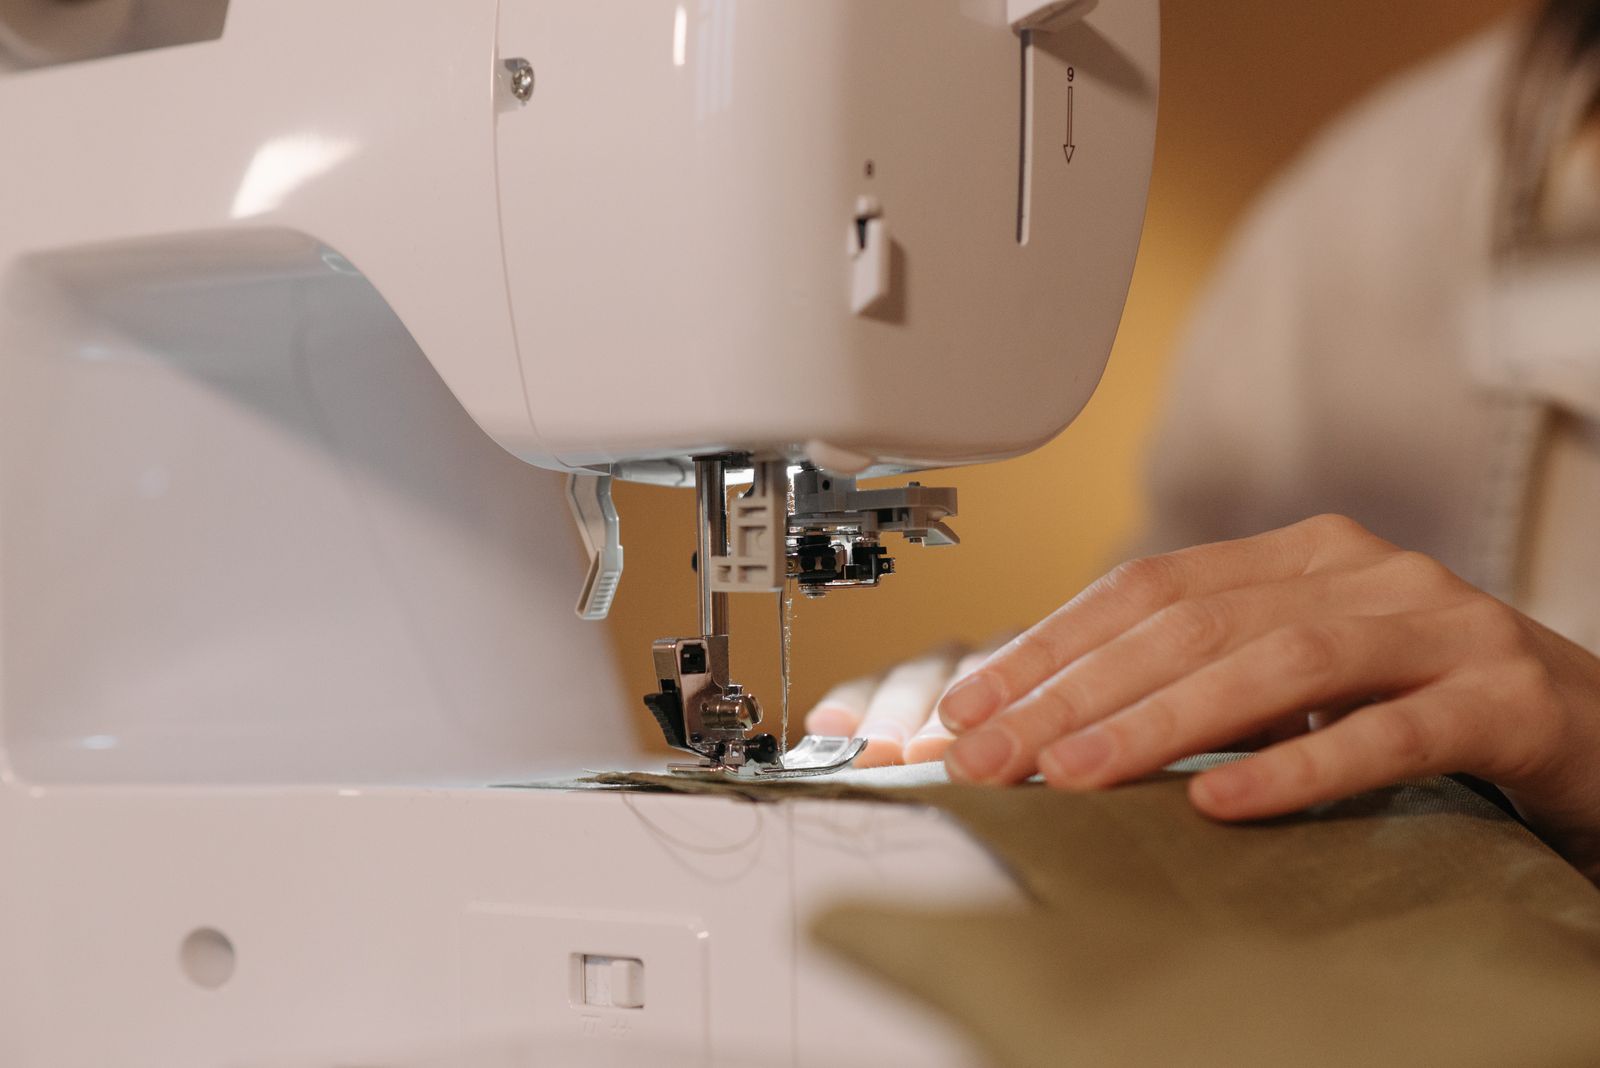
- Drop the feed dogs. Most machines have a lever or switch to lower the feed dogs below the needle plate. Some machines use a cover plate that sits over them. Either method disengages the fabric-advance mechanism.
- Attach a darning foot. This spring-loaded foot hovers just above the fabric between stitches, allowing the fabric to slide in any direction between needle strikes.
- Set a medium stitch length. This setting now controls stitch density rather than fabric advance, since the machine is no longer moving the fabric itself.
With the feed dogs down and the darning foot on, you move the fabric by hand in any direction. Move it slowly for more stitches per inch; move it quickly for longer, more scattered stitches. The machine’s needle fires at a consistent rate, and the quality of your design comes from how smoothly and steadily you move the fabric.
What you actually need
Required:
- Any sewing machine with a drop-feed mechanism or a feed dog cover plate
- A darning foot compatible with your machine’s presser foot shank
- Embroidery thread (40wt polyester or rayon works on most machines)
- Bobbin thread that matches or contrasts intentionally
Strongly recommended:
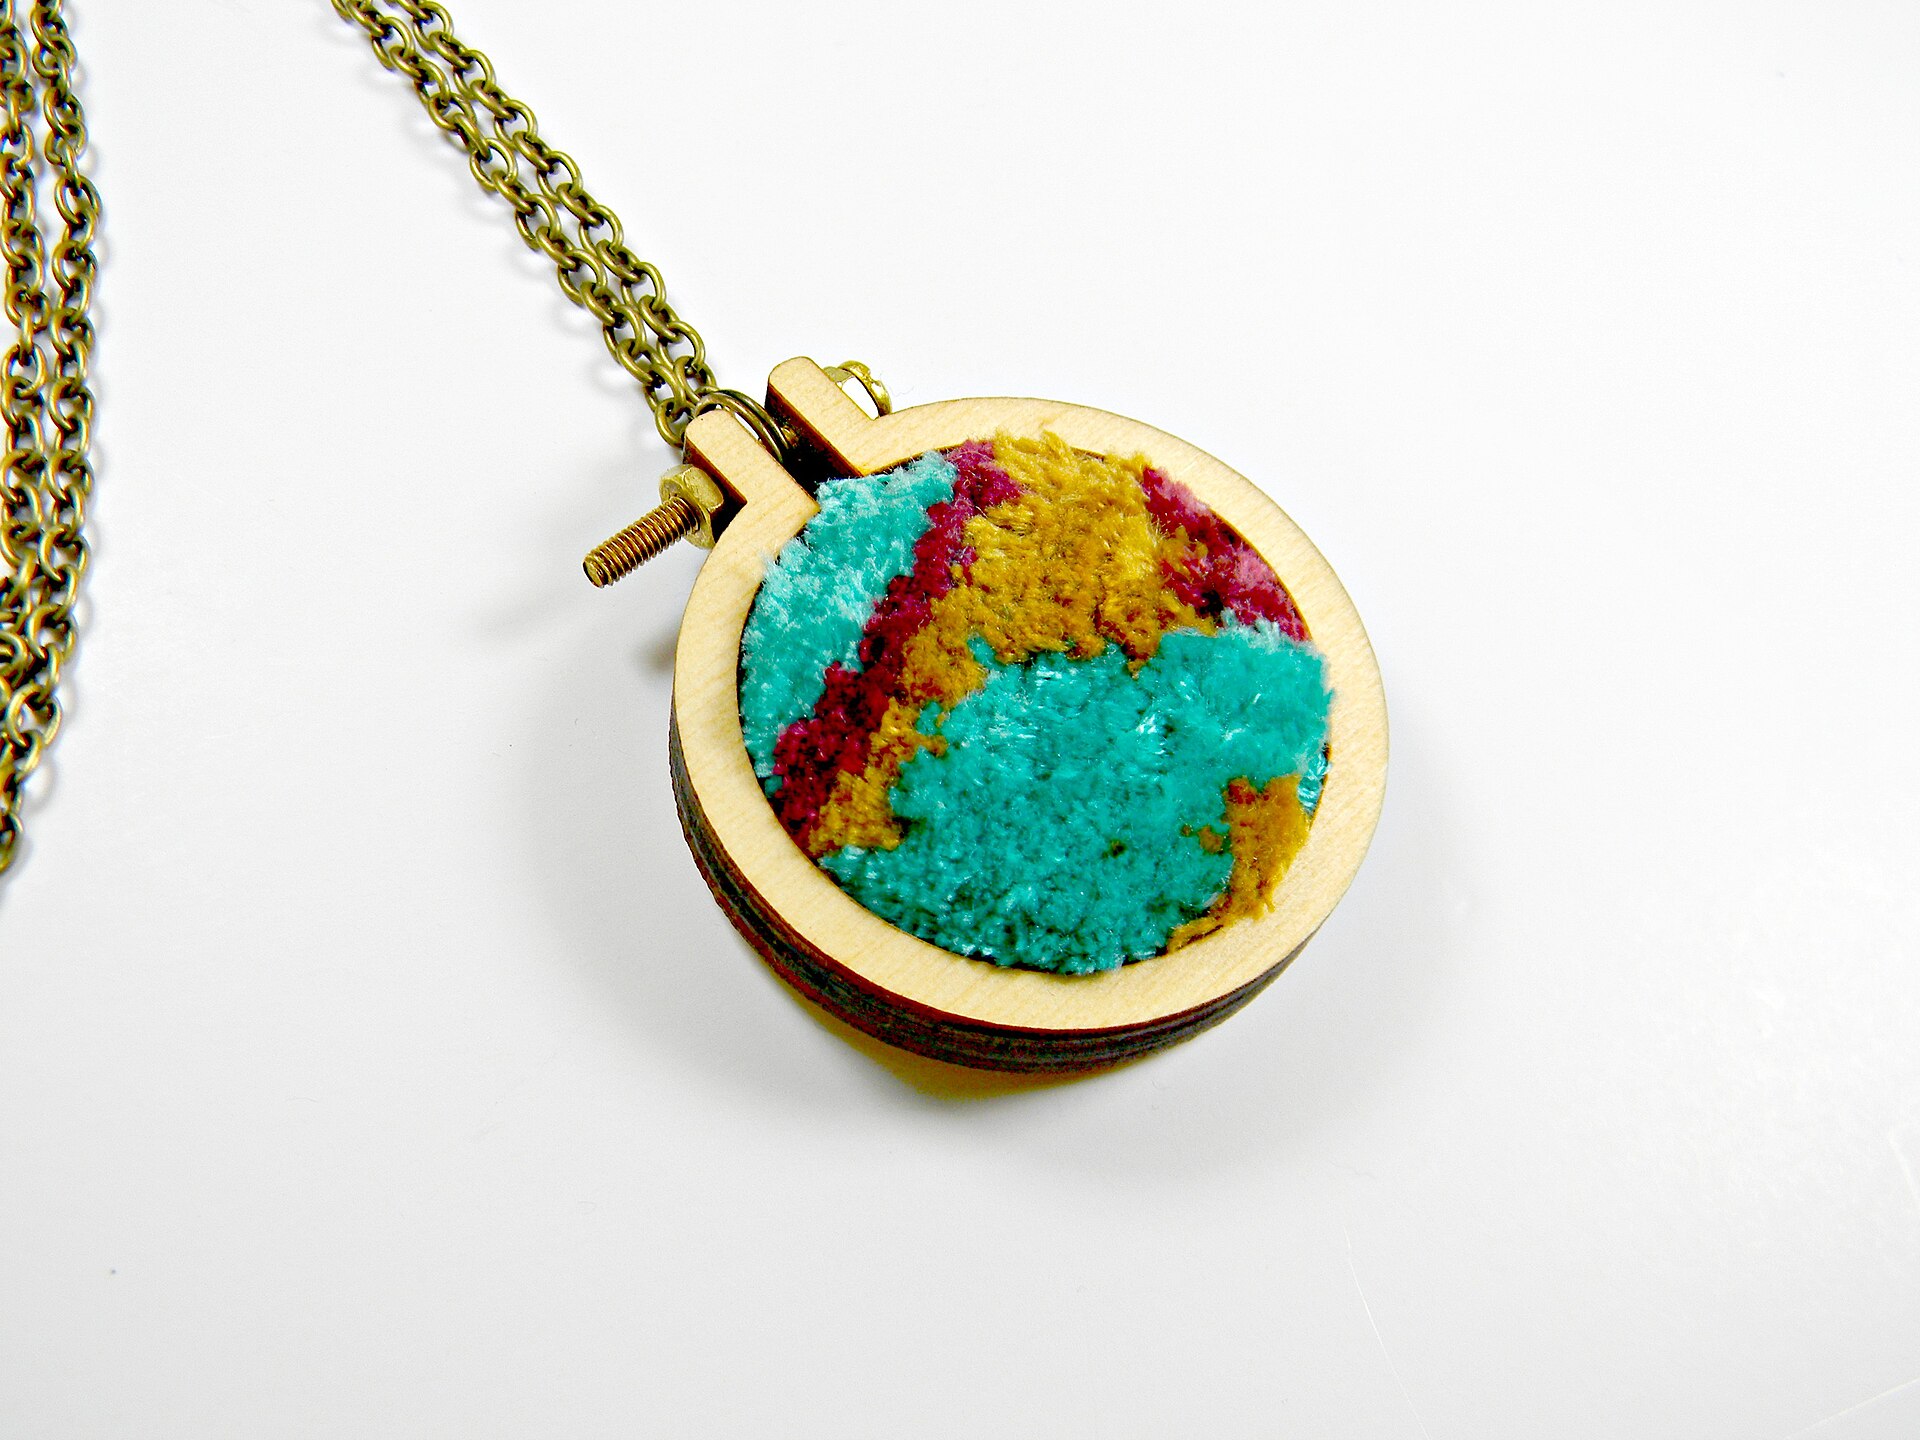
- A spring hoop, 5-inch or 6-inch. Stretching fabric in a spring hoop provides consistent tension. Standard embroidery hoops with screw adjusters also work, though the spring style loads faster.
- More throat space. Free-motion embroidery on a small design area is easier on machines with room to maneuver the hoop under the arm.
- A work surface at the same height as the machine bed, so the hoop stays level as it extends past the edge.
Not required:
- An embroidery machine
- Digitizing software
- Design files in any format
What works well on a regular machine
Free-motion embroidery on a regular machine handles:
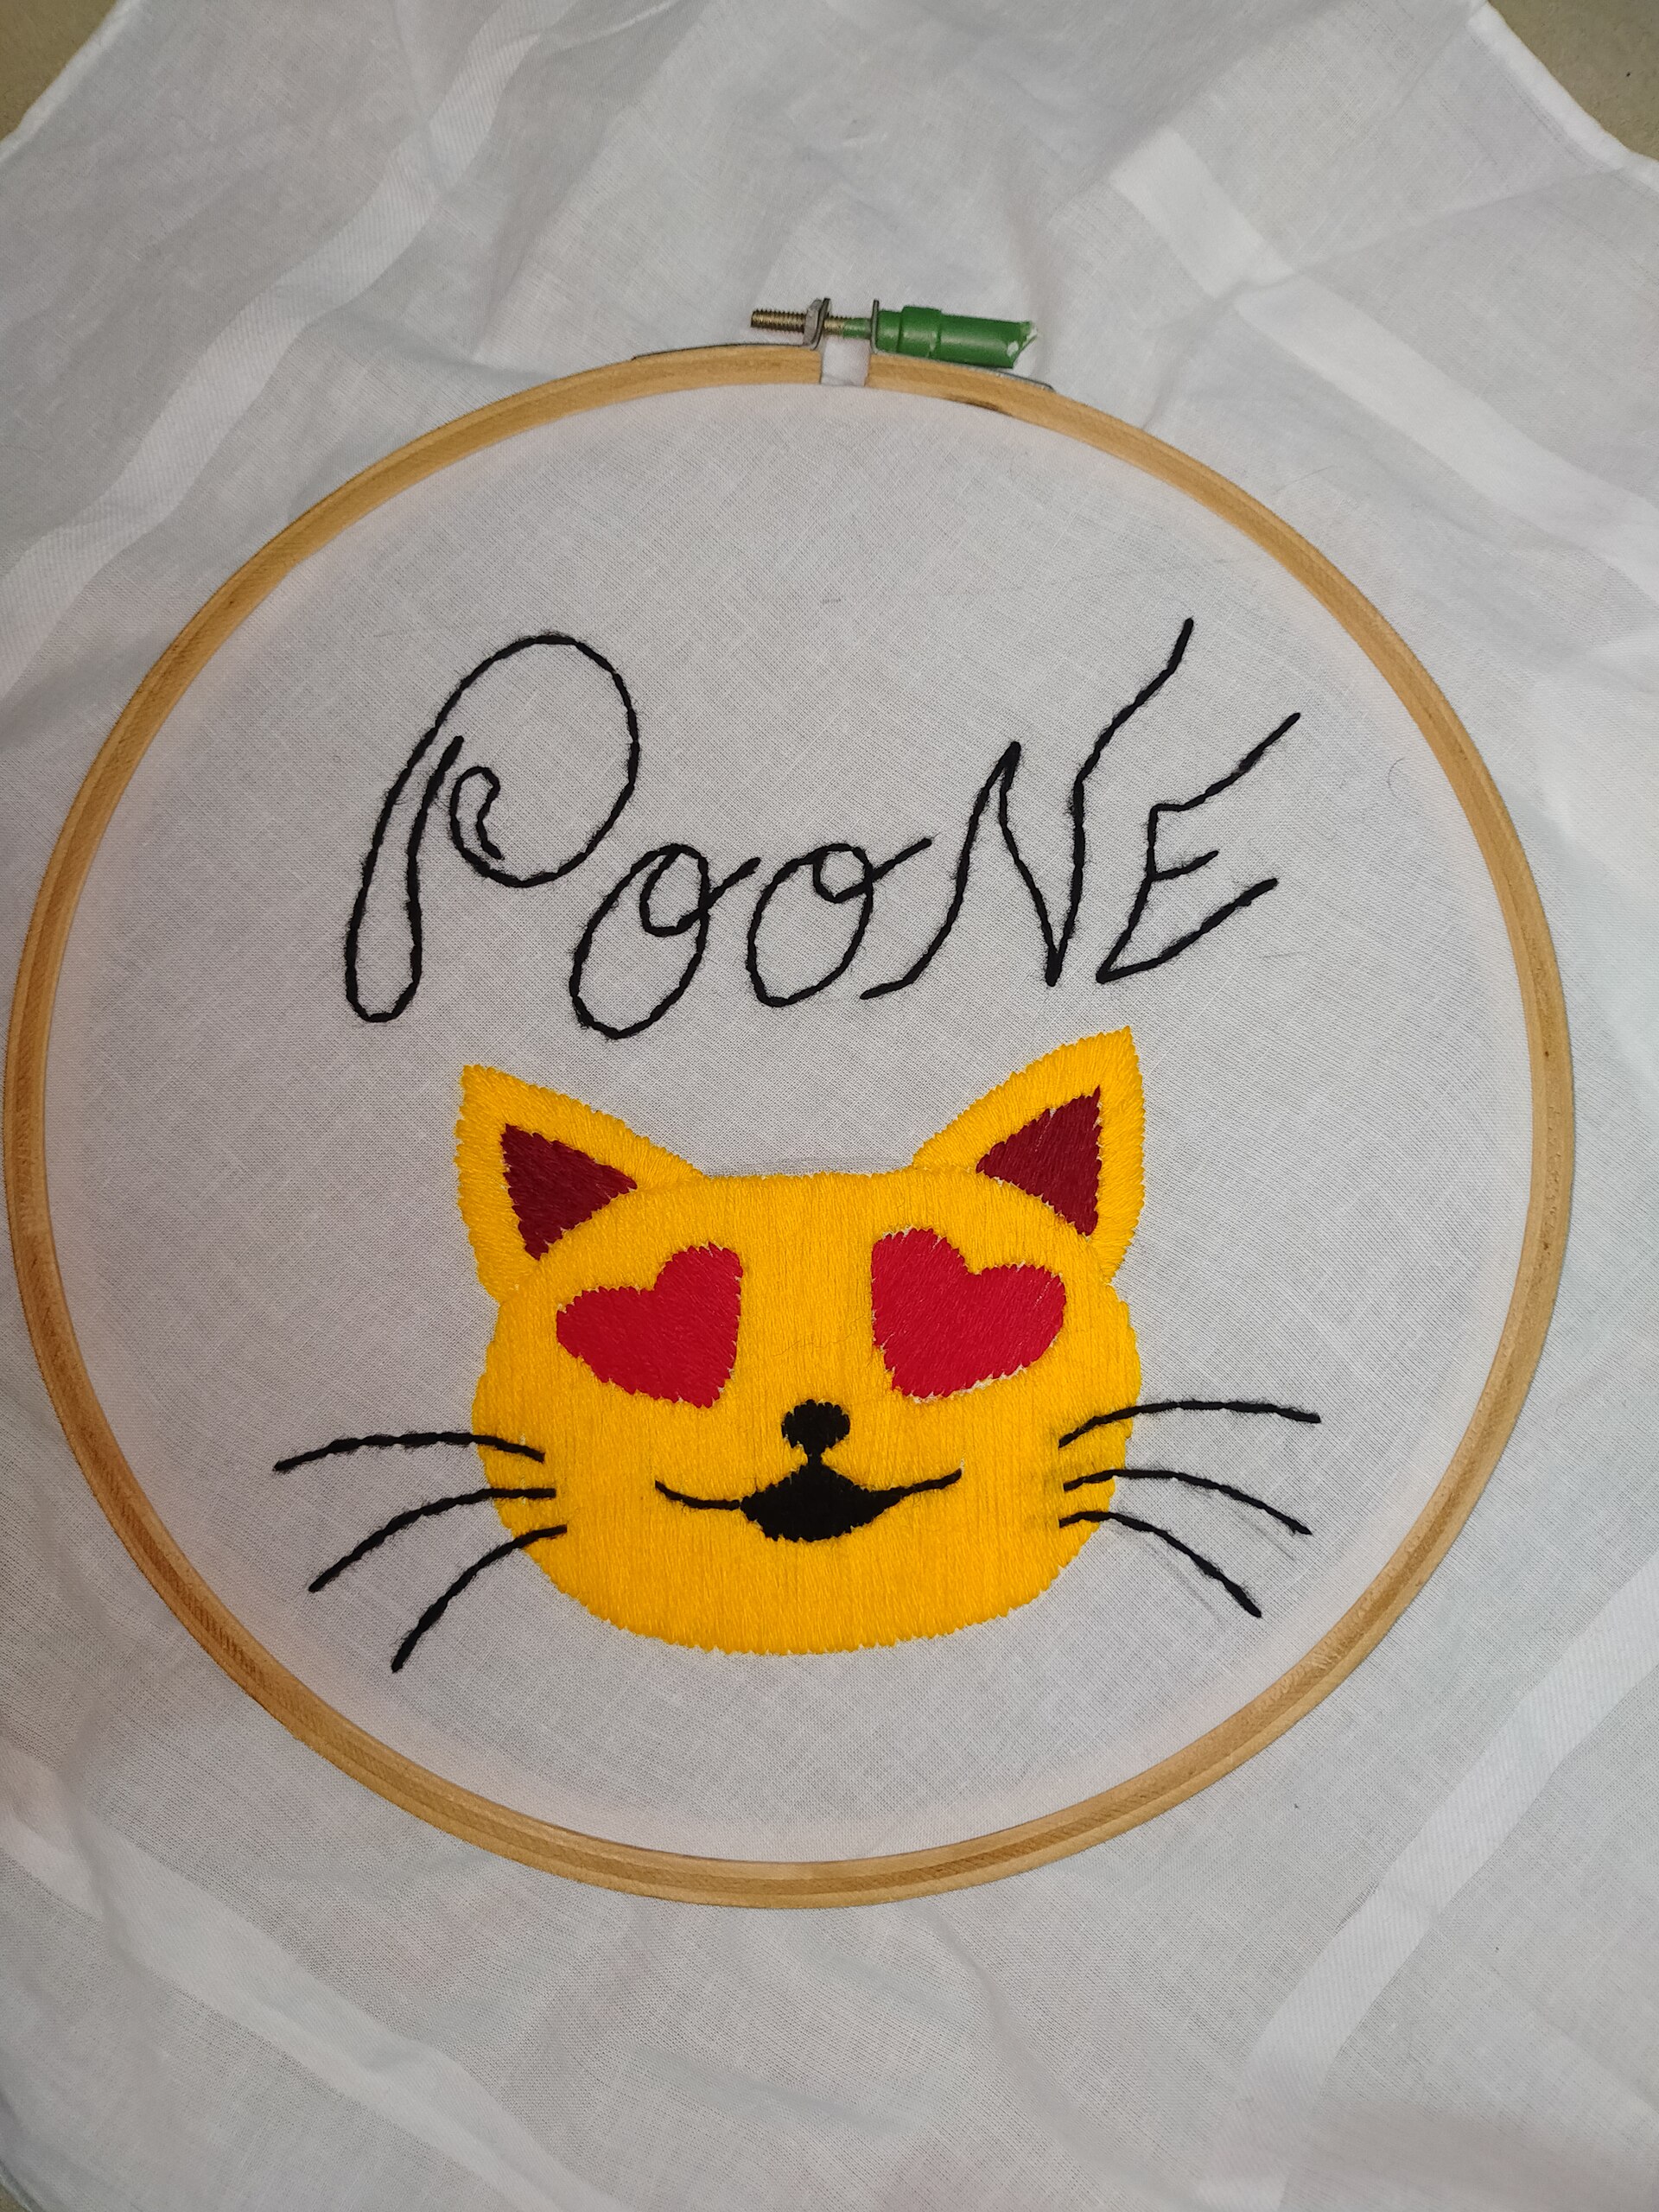
- Hand-lettering in thread. Writing a name, word, or short phrase by guiding the fabric fluidly. The look is organic and personal, similar to brush calligraphy.
- Outlined and sketched designs. Tracing a simple drawing onto fabric and stitching it with one or two thread colors. Botanical shapes, simple animals, and geometric fills translate well.
- Texture fills. Stippling, meandering patterns, and hatching where slight imprecision is part of the aesthetic.
- Repair and darning. The same technique works for reinforcing worn areas and stitching over holes.
What does not work well
- Precise digitized designs. A commercial embroidery design (a company logo, a detailed crest, a dense satin-stitch portrait) requires the machine to move the hoop in exact fractions of a millimeter. A human hand cannot reproduce that precision. The result of attempting a digitized design via free-motion is a rough approximation.
- Large multi-color designs with registration. Each color change in free-motion embroidery is a manual re-thread. Keeping alignment across a five-color design without the mechanical hoop positioning an embroidery machine provides is difficult.
- High volume. Stitching 50 left-chest logos by hand is not a production workflow. Per-piece time for free-motion work is substantially higher than for a machine running a digitized file.
The threshold: when to get an embroidery machine
Get a dedicated embroidery machine (or a combo machine like the SE700) if any of these apply:
- You want to stitch digitized design files (.pes, .dst, .jef) automatically.
- You need consistent, repeatable results across multiple pieces of the same design.
- You’re embroidering logos, text with precise tracking, or any design where stitch density and direction are engineered into the file.
- You’re doing enough volume that per-piece setup time matters.
A combo machine like the Brother SE700 ($579.99 retail, 4x4 field) handles both sewing and computerized embroidery in one machine. An embroidery-only machine like the PE900 ($1,179.99, 5x7 field) covers larger designs. For either, design files load via USB or wireless, the machine positions the hoop automatically, and you monitor the run.
Free-motion embroidery on a regular machine and computerized machine embroidery are both legitimate. They produce different results, require different skills, and serve different purposes.

For more on what an embroidery machine can do that a regular machine cannot, the SE700 review covers the full combo-machine workflow. The embroidery hoop sizes guide covers the difference between free-motion hoops and machine embroidery frames. For the question of which Brother machine to consider upgrading to, the PE900 vs. SE700 comparison breaks down the field-size decision.