Guides 9 min read
Embroidery Stabilizer Guide: Cutaway vs Tearaway, Picked
Embroidery stabilizer guide: cutaway vs tearaway vs wash-away, which one for each fabric, weight charts, cost-per-project math, and how to stop puckering.
The fast answer: use cutaway stabilizer for knits and anything that stretches, tearaway for stable wovens, and wash-away for freestanding lace and as a topper on textured fabrics like towels. Cutaway stays in the fabric permanently because stretch fabrics need ongoing support; tearaway comes off after stitching because stable wovens hold their own shape. Get this one choice right and most embroidery problems, puckering chief among them, never happen.
Stabilizer is the cheapest part of machine embroidery and the part that decides whether the expensive part works. A $600 machine with the wrong backing produces a puckered mess; the same machine with the right backing produces a clean stitch-out. Per OESD’s stabilizer basics, verified June 2026, inadequate stabilizing causes “puckers, holes in the fabric, and alignment problems, like gapping between the fills and the outlines.” That sentence is most of the failures people blame on their machine.
Cutaway: the one knits cannot do without
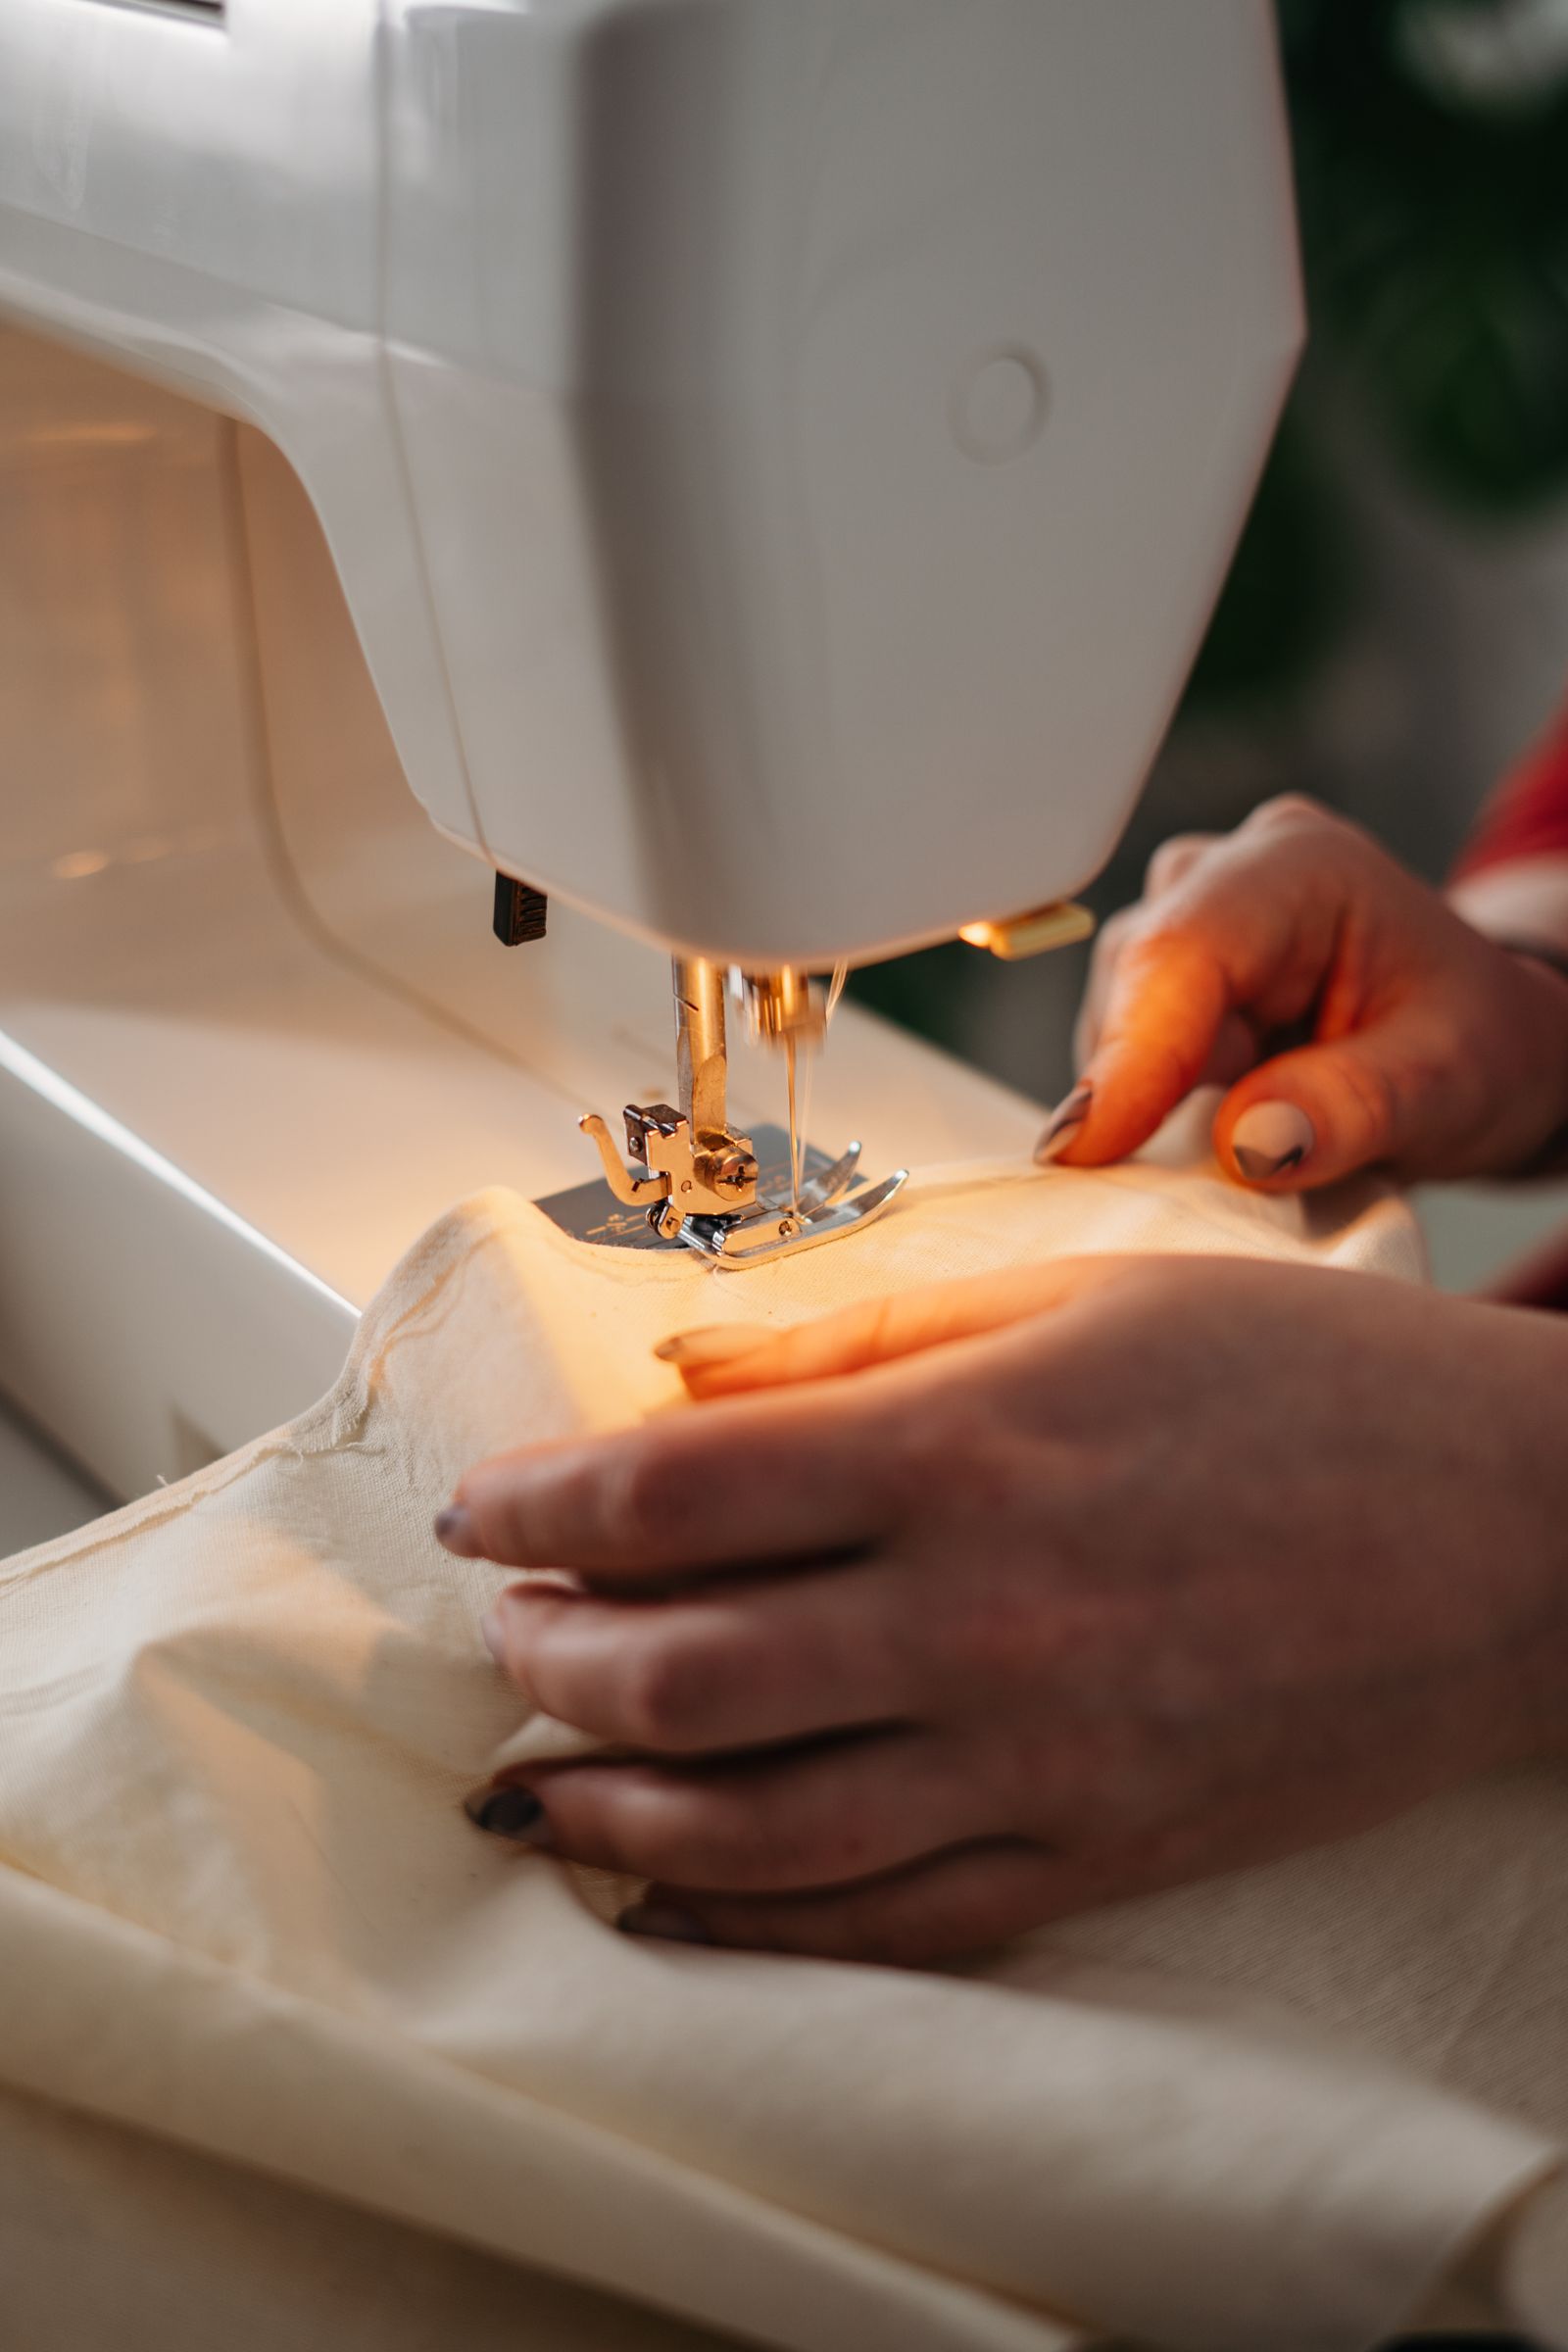
Cutaway is permanent. You stitch through it, then trim the excess with scissors, leaving a margin of about a quarter inch around the design. What stays behind keeps supporting the stitches through every wash and wear.
This is non-negotiable for knits. OESD states it flatly: “CutAway stabilizer can be used on any fabric but must be used on knits or stretchy fabrics.” The reason is mechanical. A t-shirt stretches in every direction; tearaway would let the design distort and the stitches gap the first time the shirt is pulled over a head. Cutaway locks the fabric’s geometry under the embroidery and holds it there permanently.
Weights run from light no-show mesh to heavy. Sulky’s range, verified June 2026, runs from Soft ‘n Sheer (a light cutaway for t-shirts that keeps designs from “wading up” after washing) to Cut-Away Plus (heavy, for sweatshirts and golf shirts). The trick on light-colored knits is a poly-mesh cutaway, which stays translucent so the backing does not shadow through the front. Use a heavier solid cutaway and you will see a dark rectangle through a white tee.
The cost of cutaway is bulk and a slightly stiffer hand behind the design. The benefit is that it never fails a stretch fabric. When in doubt on any fabric, a medium cutaway is the safe default; it holds more stitches than any other type.
Tearaway: fast, clean, and only safe on stable fabric
Tearaway is temporary support you tear off after the design is done, leaving a clean back. It is faster to finish and looks tidier than a trimmed cutaway, which is why people reach for it. The catch is that it only works where the fabric does not move on its own.
Tearaway is right for woven fabrics without stretch: quilting cotton, poplin, chambray, linen, denim, canvas, most satins. These hold their shape, so they do not need permanent backing; the tearaway just keeps the fabric flat while the needle works, then leaves. OESD lists exactly these fabrics for its tearaway line.
The caveat people skip: tearing distorts stitches if you are rough or the design is dense. Pull straight and support the stitches with a fingernail; do not yank diagonally across a fine outline. On a high-stitch-count design, even on a stable woven, a layer of tearaway is often not enough on its own, which is why floating a second layer under the hoop is common. And tearaway on a knit is the single most common beginner mistake. It will look fine on the table and warp on the body.
Wash-away, heat-away, and toppers: the specialty layer
Wash-away (water-soluble) dissolves completely in water. It comes in two forms: a film and a fabric-like mesh. The mesh, like OESD’s AquaMesh, is the base for freestanding lace, where the stabilizer is the only thing holding the design together until you rinse it and the lace stands on its own. The film version, used as a topper, sits on top of the fabric.
Toppers solve the towel problem. Pile fabrics (towels, fleece, velvet, corduroy, sweater knits) have loops that poke up between the stitches and swallow fine detail. A wash-away topper laid over the fabric holds the loops down so the design sits on top, then rinses away. Without it, a towel monogram looks fuzzy and half-buried. With it, the letters sit crisp on the loops. Use a topper plus a backing underneath; the topper is not a substitute for the backing.
Heat-away is the niche option: a film you remove with an iron instead of water, for fabrics that cannot get wet. Most home embroiderers never need it. Fusible and sticky variants are the hooping workaround: an adhesive-backed stabilizer that you hoop alone, then stick the fabric on top. That is “floating,” and it earns its own section below, because it is genuinely useful and genuinely overused.
The weight chart: fabric and density to stabilizer
Two variables decide stabilizer weight: how stretchy and heavy the fabric is, and how dense the design is. The rule, stated nearly identically by every manufacturer, is that heavier fabric and denser designs need heavier (or doubled) stabilizer. Madeira USA’s E-Zee guide names the same three levers: stitch length, stitch density, and design size all push toward heavier backing.
This table compiles the recommendations across Sulky, OESD, Floriani, and Madeira, verified June 2026. Weights are in ounces, the standard backing measure.
| Fabric | Design density | Stabilizer type + weight | Source basis |
|---|---|---|---|
| T-shirt / jersey knit | Light–medium | No-show mesh cutaway, ~1.5–2.0 oz | OESD, Sulky (Soft ‘n Sheer) |
| Sweatshirt / fleece | Medium–heavy | Medium cutaway, ~2.0–2.5 oz | Floriani Medium Cutaway 2.0 oz; Madeira E-Zee Cut 2.5 oz |
| Polo / performance knit | Medium | Medium cutaway, ~2.0 oz | Floriani; OESD |
| Quilting cotton / poplin | Light–medium | Medium tearaway, ~1.5–1.8 oz | OESD; Floriani Medium Tearaway 1.5 oz |
| Denim / canvas (woven) | Medium–heavy | Heavy tearaway or medium cutaway | OESD |
| Linen / chambray | Light | Light–medium tearaway | OESD; Sulky Tear-Easy |
| Towels / fleece (pile) | Any | Tearaway/cutaway backing + wash-away topper | OESD; Sulky |
| Freestanding lace | Heavy by design | Wash-away mesh (AquaMesh / BadgeMaster) | OESD |
| Sheer / organza / tulle | Light | Wash-away | OESD |
When a light fabric carries a dense design, the manufacturers agree on the fix: two layers of a lighter stabilizer rather than one heavy layer, so the backing does not telegraph stiffness through to the front. Floriani’s medium tearaway (1.5 oz) is specifically positioned as a “floater” second layer under the hoop for high-stitch-count work.
Cost per project: the math nobody runs
Stabilizer feels expensive in the cart and turns out to be pennies per project. Here is the real cost, computed from current verified Amazon prices as of June 2026, for the two hoop sizes that cover most home machines: 4x4 (a left-chest design) and 5x7 (a larger monogram or motif).
| Buying method | 4x4 hoop-out | 5x7 hoop-out |
|---|---|---|
| Precut sheets (100-pack, 10x12, ~$25–30) | ~$0.25–0.30 each (1 sheet covers a 5x7 hoop) | ~$0.25–0.30 each |
| Roll (12” wide, 50 yd, ~$35–45) | ~$0.10–0.15 (cut to ~5”x6”) | ~$0.18–0.25 (cut to ~7”x8”) |
The roll wins on price per project once you are comfortable cutting your own pieces; the precut sheets win on convenience and on never wasting a scrap. At roughly a quarter per project on sheets, or a dime to fifteen cents on the roll, stabilizer is the last thing to economize on. Buy the type your fabric needs, not the type that is cheapest, and the difference across a year of hobby embroidery is a few dollars. Prices reflect mid-range Amazon listings checked June 2026, not a single locked SKU, and they drift; the ratio between sheets and rolls is the durable takeaway.
For a starter kit, a verified cutaway sheet multipack covers knits and dense work, and a tearaway sheet multipack covers stable wovens. Those two cover the large majority of home projects between them.
As an Amazon Associate, Needle Down earns from qualifying purchases.
Hooping vs floating: the debate, settled enough
Floating means you hoop the stabilizer alone and secure the fabric on top with adhesive, basting, or pins, rather than hooping fabric and stabilizer together. It is one of the more argued techniques in machine embroidery, and both sides have a point.
Float when the item cannot be hooped without harm: thick fabrics that will not fit under the hoop, items too small or oddly shaped to clamp (cuffs, pockets, belts, ribbon), and napped or delicate fabrics that a hoop would crease permanently. Mr X Stitch’s guide, accessed June 2026, makes the case that floating opens up fabrics and items you otherwise could not embroider, with adhesive sticky stabilizer reserved for exactly the velvet-and-nap cases where a hoop mark is unacceptable.
Do not float by default. The community consensus, captured well by Bunnycup Embroidery, is that hooping both layers together gives the most stable result, and floating raises the risk of shift, gapping, and puckering on anything large or dense. The professional default is the smallest hoop that fits the design, a medium cutaway, and even tension with no stretch. Float when you have a reason; hoop when you do not.
Why your embroidery puckers, decoded
Puckering is the failure people search for most, and it is a stabilizer story about 80% of the time. The causes, per Embroidery Legacy and the broader practitioner consensus, accessed June 2026, in order:
- Wrong or too-light stabilizer. A light backing under a dense design lets thousands of needle penetrations pull the fabric inward. This is the number-one cause. Match the weight to the density, per the chart above.
- Wrong type for the fabric. Tearaway on a knit. The fabric stretches, the stitches gap, the surface puckers as the fabric relaxes.
- Hooping tension. Too loose and the fabric shifts and bunches mid-stitch. Stretched too tight and it springs back when unhooped, puckering everything not locked under stitches. Hoop snug and flat, never stretched.
- Design density and digitizing. A badly digitized file puckers no matter how perfect your setup. There is nothing the stabilizer can do about stitch counts the fabric cannot physically absorb.
Notice that three of the four trace back to the layer this whole guide is about. Get the stabilizer right and you have removed most of the failure surface before the machine starts.
Where to go from here
Stabilizer is the foundation; the machine and the field size are the next decisions. If you are choosing a machine, the Brother SE700 is the entry combo most home embroiderers start on, and its consumables math lines up with the cost figures here. If you are weighing field sizes, the hoop sizes explained guide turns “4x4” and “5x7” into what actually fits. And if the machine is not embroidering at all, the question is often whether a regular sewing machine can embroider in the first place, which is a different conversation with a short answer.
Buy a medium cutaway and a medium tearaway, keep a packet of wash-away toppers for towels, and you have covered the large majority of home embroidery for the price of a couple of coffees. The expensive mistake is not buying the right stabilizer. It is buying the wrong one twice.